Start by removing unused cables, labelling the ones you need and gathering them with reusable ties. Add a tray if equipment is spilling onto the floor; add clips if loose cable ends are the main problem. You do not need a full kit to make the desk easier to use.
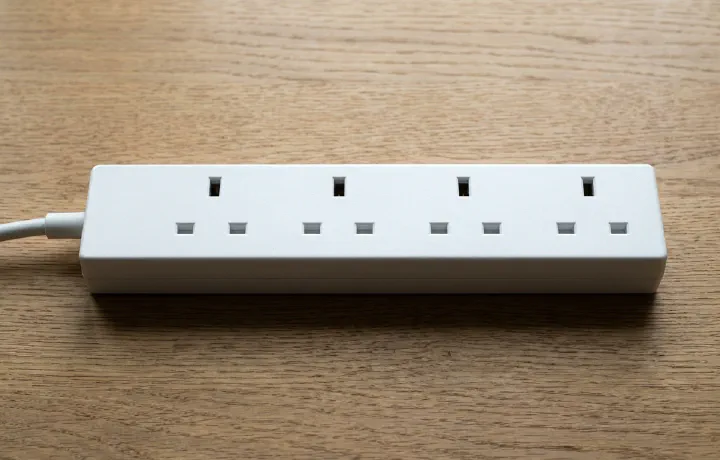
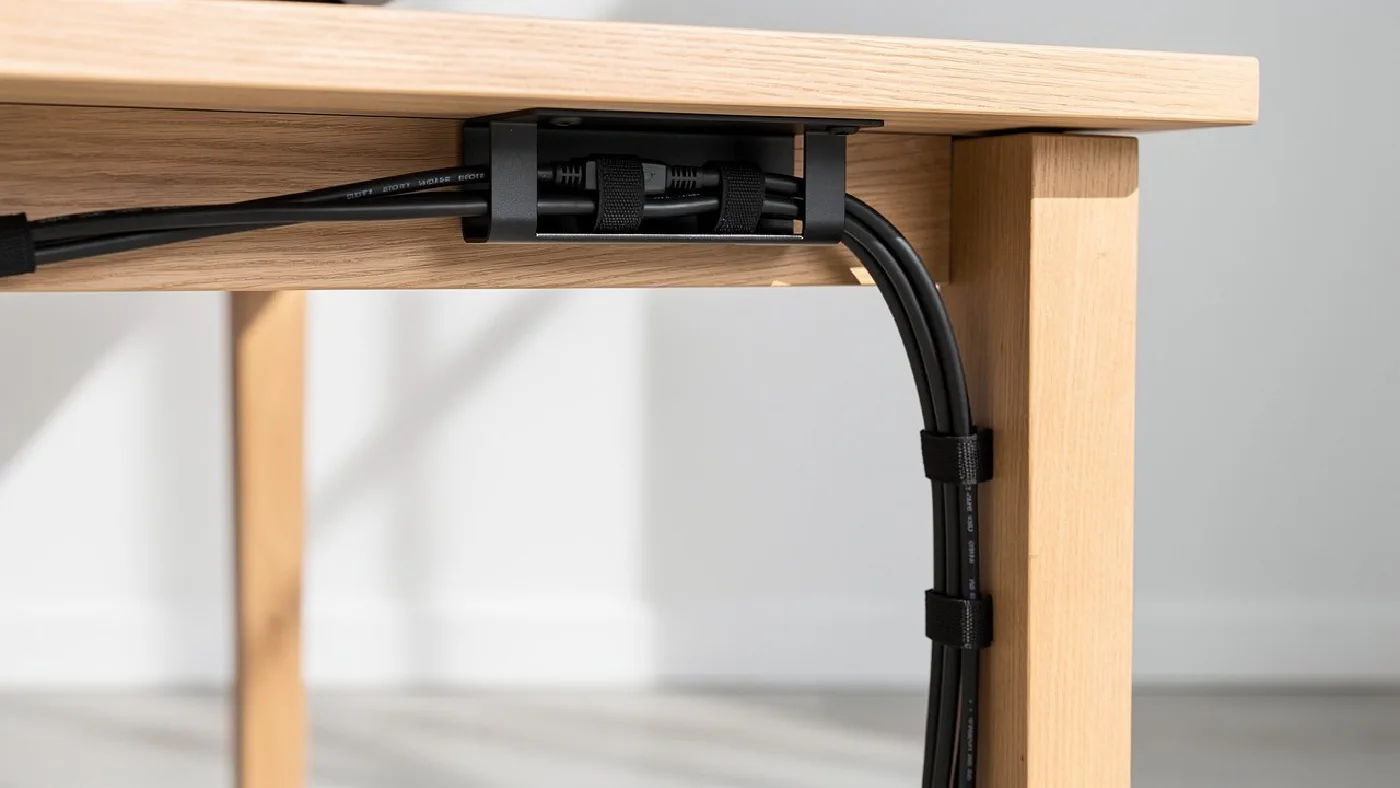
This is a research-based setup guide, not a hands-on product test. Manufacturer guidance and UK electrical-safety advice were reviewed on 21 September 2026. The header is a category illustration, not a photograph of a tested setup. The manufacturer link below is not an affiliate link.
Choose the method that matches your problem #
| Method | Useful for | Check before buying | Main limitation |
|---|---|---|---|
| Reusable hook-and-loop ties | Gathering excess cable and making changes later | Tie length and room for a loose bundle | Do not support a heavy adaptor or extension lead by its cable |
| Cable clips | Keeping charging ends within reach and guiding individual leads | Cable diameter, surface compatibility and mounting instructions | Adhesive can mark finishes or release under load |
| Clamp-on tray | Supporting an under-desk route without screw holes | Desktop thickness, clamp opening, flat edge and frame clearance | Clamps may obstruct drawers or mark the edge |
| Screw-mounted tray | A fixed route beneath a compatible desktop | Desk construction, approved fixing positions and screw length | Requires suitable fixings and leaves holes |
| Split cable sleeve | Gathering several cables that follow the same path | Bundle diameter and access for cables that branch off | Does not replace support for equipment |
| Flexible cable spine | Guiding a moving desk-to-floor cable run | Full height range and the manufacturer’s mounting method | Still needs sufficient cable length and clearance |
For example, IKEA’s UK SIGNUM page lists a 70 cm by 16 cm under-table cable tray and explicitly excludes glass tabletops. Treat it as one documented option to measure against your desk, not a universal fit. Read its assembly instructions before choosing fixings, especially for a hollow desktop.
For a wider overview of the categories, see our cable-management solutions guide. Use the checks above to narrow the choice before comparing products.
1. Map the connections before unplugging anything #
Take a photograph of the ports and identify what each lead connects. Shut down equipment before disconnecting power or moving it. Leave your desk’s own motor and control wiring as its manufacturer specifies.
Divide the remaining leads into three groups:
- Staying at the desk: monitor, speakers, dock and lamp.
- Leaving the desk: wall power, Ethernet and connections to a computer on the floor.
- Frequently unplugged: laptop charging, headphones and phone leads.
Label both ends where it would save tracing a cable later. A simple name such as “left monitor” is often enough. Keep each power adaptor’s original rating label visible; a homemade device label does not establish electrical compatibility.
Remove disconnected spares and put them somewhere accessible. If you are still choosing where the desk will go, settle the layout first with our home-office setup guide.
2. Measure the useful space beneath the desktop #
Measure the clear area rather than the desk’s overall width. Account for the frame, drawers, monitor-arm clamp and your knees. Then measure the equipment you want to support, including inserted plugs and the space needed to unplug them.
A tray can be wide enough for an extension lead but too shallow for its plugs. It can also fit the desktop while blocking a drawer or a standing desk’s moving parts. Hold the proposed layout in position before fastening anything.
Check the tray’s load limit and the desk manufacturer’s mounting guidance. Do not assume that a screw suitable for a solid timber top is suitable for a hollow board. For glass or an uncertain surface, choose only a mounting method expressly permitted by the relevant manufacturers.
3. Fit supports, then route one device at a time #
Install the selected tray or clips using their instructions. Keep sockets, switches and connections reachable. Use an extension lead’s approved mounting points or a compatible support; do not drill through its casing or suspend it by its flex.
Reconnect one device at a time and follow its cable from the port to the destination. Make broad, relaxed bends and use reusable ties without crushing the cable. Keep the route clear of sharp edges and moving mechanisms. Leave enough movement for a monitor arm or a laptop you regularly pull forwards.
Keep daily-use leads separate from the bundle you rarely touch. A charging lead in an accessible clip is more useful than one hidden neatly behind several fixed connections.
Do not pack adaptors into a sealed box just to hide them. Follow each device’s ventilation instructions and leave its vents unobstructed. Keep inspection and removal possible without dismantling the whole arrangement.
4. Allow for the full movement of a standing desk #
The cables that need particular attention are those crossing between moving and fixed equipment: for example, from a desktop monitor to a floor-standing PC. Progressive Automations’ routing guidance recommends planning at maximum height and providing slack for the full range.
With cables clear of the mechanism, check the route at the highest position before fastening it. A supported extension lead travelling with the desktop can reduce the number of power leads crossing to the floor, but its own supply cable still needs room to move.
Move the desk slowly through its range while watching every crossing cable. Stop if anything tightens or catches. At the lowest position, check that spare cable does not fall into the chair’s path or become trapped. A spine guides the drop; it cannot compensate for a short cable. Follow your desk’s manual for its particular frame and accessories.
5. Check the UK extension lead before hiding it #
Electrical Safety First’s extension-lead advice is a useful final check:
- Use a fused UK three-pin extension lead from a reputable retailer.
- Check the marked current rating and the combined load of connected appliances. Spare sockets do not mean spare electrical capacity.
- Do not plug one extension lead into another.
- Fully unwind a cable reel before use.
- Look for fraying, scorch marks or a burning smell. Stop using suspect equipment and seek appropriate repair or replacement advice.
If you regularly need more wall sockets, ask a registered electrician about the installation. Adding a second extension lead to the first is not the solution.
Finish with an access check #
Sit down, move your chair and reach for the connections you use each day. Adjust the monitor and, where applicable, raise and lower the desk. Confirm that no cable pulls on a port or crosses the space where your feet and wheels move.
Leave labels readable and the wall plug accessible. Recheck the arrangement when you add a device, move the desk or notice a clip coming loose. When cleaning, inspect the supports and cables instead of concealing damage inside a new sleeve.
If the layout works with the ties and clips you already own, stop there. Buy a tray, sleeve or spine only when it resolves a specific remaining problem.
Frequently asked questions #
How can I organise desk cables without drilling? #
Start with reusable ties and cable clips, or a clamp-on tray that fits your desktop thickness and edge. Check the finish and mounting instructions: adhesive can mark surfaces, and clamps are not suitable for every desk.
How much cable slack does a standing desk need? #
Enough for every cable between moving and fixed equipment to follow the desk through its full travel without pulling taut, snagging or forming a loop under the chair. There is no single length that suits every desk.
Do I need a cable tray and a sleeve? #
Not necessarily. A tray supports cables and compatible equipment beneath the desktop; a sleeve gathers cables along a route. Buy whichever solves the problem you actually have, and add the other only if needed.
Can cable management make my computer faster? #
Tidying external cables does not make a computer faster. The practical benefits are easier access to connections, clearer cable identification and less clutter around the desk.